Wing Solar
Solar panels are designed for years of outdoor exposure, but they are not maintenance-free. Dust, pollen, leaves, snow, and new shade from a growing tree can all affect production. In 2026, monitoring apps make it easier to spot changes, yet a single low-output day does not necessarily signal a fault. Weather and seasonal daylight matter. Small clues count.
How to maintain solar systems over time starts with knowing what “normal” looks like for your home. Check the inverter or monitoring app regularly, compare production across similar months, and note unusual alerts. From the ground, look for visible debris, cracked glass, loose wiring, or water near electrical equipment. Do not climb onto a roof or open energized components to investigate. Use the system manual, follow the installer’s maintenance guidance, and contact a qualified solar technician when an issue involves wiring, mounting, or persistent performance loss.
Keep records. A simple log of cleaning, service visits, alerts, and monthly output can help reveal gradual changes that are easy to miss. Cleaning needs vary by location; rain may rinse panels in some areas, while dust or bird droppings may remain. Follow manufacturer instructions and local water-use guidance before cleaning. Avoid abrasive tools and harsh chemicals. One imperfect log is still better than relying on memory. This guide explains practical inspection routines, safe cleaning decisions, monitoring habits, and signs that deserve professional attention, so your system can remain dependable without unnecessary work.
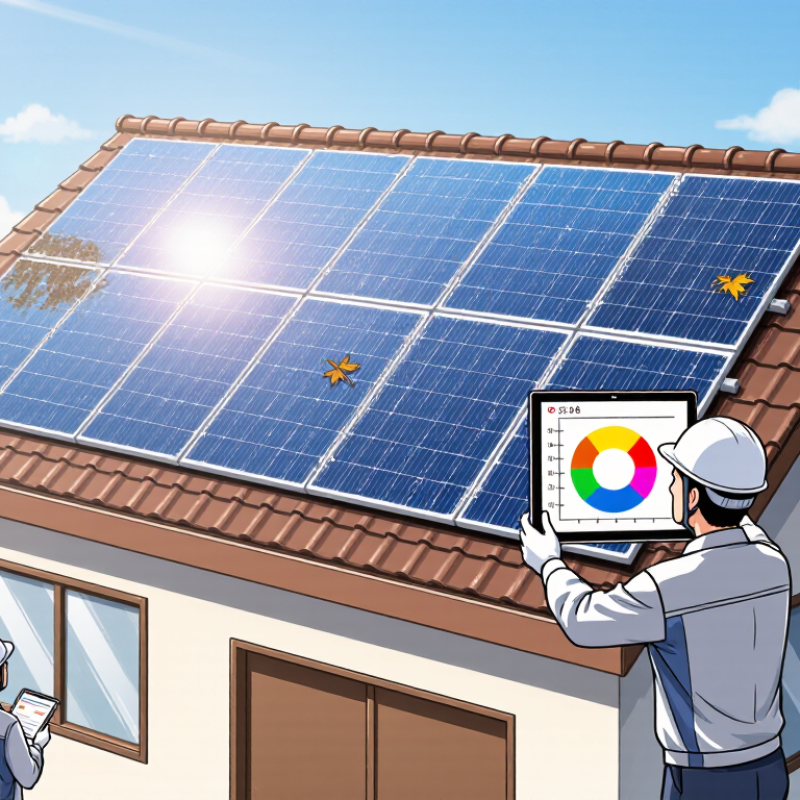
In 2026, use NREL’s reported 0.5% median annual photovoltaic (PV) degradation as a planning baseline, not a guarantee. At that rate, a system would retain roughly 95% of its original capacity after ten years. Actual energy production also changes with weather, shading, dust, and equipment faults. Those effects can hide gradual panel decline. Small changes matter.
Keep monthly production records and compare the same months across years. Note unusual snow, nearby construction, or long periods of cloudy weather. A sudden drop is not automatically degradation; check for new shade, dirty surfaces, loose connections, or monitoring gaps. A tidy spreadsheet can still mislead if conditions differ. That is easy to overlook.
Tips: Photograph the array once a year from the same spot, and log cleaning or maintenance dates. Compare output under similar seasonal conditions, then investigate sustained declines beyond the 0.5% benchmark. Do not expect every system to match the median; site conditions and equipment vary. When the cause is unclear, ask a qualified solar professional to inspect the system.
Reliable maintenance begins with measured performance, not visual checks alone. IEC 61724-1 provides a framework for monitoring photovoltaic systems, including energy, irradiance, and environmental conditions. Track daily energy yield and plane-of-array irradiance together. This helps distinguish cloudy weather from a genuine production loss. Short sentence. Also record module temperature and system availability where the monitoring setup allows.
Performance ratio can help compare actual output with the energy expected from available sunlight. Review it alongside energy yield, not in isolation: shading, soiling, downtime, and sensor errors can all affect the numbers. A clean-looking dashboard can still mislead. Check that irradiance sensors are unobstructed, timestamps align, and missing data are flagged. Small gaps matter.
Use a consistent baseline and look for persistent changes across comparable periods, rather than reacting to one cloudy day. If output drops while irradiance remains similar, inspect the array for new shade, dirt, or visible damage, then verify readings before arranging repairs. Monitoring class and measurement precision should suit the system’s size and purpose. In practice, weather and imperfect sensors make neat comparisons difficult; note those limits in maintenance records.
Solar maintenance in 2026 should include a careful review of electrical safety records, not just a visual check of the panels. IEC 62446-1 provides a framework for documenting and verifying grid-connected photovoltaic systems. Have a qualified technician compare the current installation with its single-line diagram, string layout, and equipment schedules. Look for altered cable routes, damaged insulation, loose enclosures, missing warning labels, or signs of water entry. Small details matter. Do not open live equipment or handle exposed conductors during routine checks.
Keep inspection and test results with the system records. These may include continuity, insulation resistance, polarity, and operational test results, where applicable to the system and inspection scope. Record the date, instruments used, observed readings, defects, and corrective work. A clear note such as “inverter isolated; connector replaced” is more useful than “repair completed.” Check that labels remain legible and match the diagrams. If the system has changed, update the documentation rather than relying on an old drawing. Records can be incomplete. That is a reason to verify them, not to assume the installation is unsafe. Apply the relevant edition of IEC 62446-1 and local requirements, with testing decisions made by a competent professional.
Planning guide for grid-connected PV systems. IEC 62446-1 addresses system documentation, commissioning tests, and inspection; it does not set one universal maintenance interval for every installation. Follow the applicable edition, local electrical rules, site risk assessment, and equipment instructions.
| Timing | Inspection or maintenance task | Electrical safety and controls | Record to retain | Review or action trigger |
|---|---|---|---|---|
| At handover and after major changes | Confirm that the system documentation reflects the installed array, inverter, protective devices, wiring, and isolation points. | Use a qualified person for electrical work. Verify isolation arrangements and identify PV conductors that may remain energized in daylight. | As-built single-line diagram, equipment schedules, circuit and string details, test results, and operating instructions. | Correct missing or inconsistent details before relying on the documents for maintenance or emergency response. |
| Monthly, where remote monitoring is available | Review inverter status, energy production, alarms, and monitoring communications against expected seasonal performance and comparable periods. | Review data remotely where possible; do not open electrical enclosures to investigate an alert unless authorized and qualified. | Monitoring summaries, alarm history, communication outages, and investigation notes. | Investigate persistent alarms, unexpected production changes, or missing data; account for weather, shading, and grid outages. |
| At a site-defined routine interval | Visually check accessible modules, mounting, cable routes, conduits, labels, and accessible areas around electrical equipment. | Keep clear of exposed or damaged wiring. Restrict access and arrange prompt assessment if there are signs of arcing, burning, water ingress, or mechanical damage. | Inspection date, locations checked, photographs, observed defects, and follow-up actions. | Escalate cracked modules, loose or displaced components, damaged insulation, corrosion, or obstructed access. |
| After severe weather or a reported incident | Assess the array and accessible equipment for impact, flooding, wind damage, debris, or other visible changes. | Do not touch damaged PV cables or attempt repairs while equipment may be energized. Isolate only in accordance with the site procedure and equipment instructions. | Incident details, affected areas, photographs, isolation actions, and inspection or repair findings. | Arrange qualified inspection before returning affected equipment to service where damage or unsafe conditions are suspected. |
| During planned electrical inspection | Inspect accessible switchgear, protective devices, terminations, and isolation points for condition, correct identification, and signs of overheating or water ingress. | Electrical inspection and testing must be performed by competent personnel using suitable procedures and instruments. Apply safe isolation and verification practices. | Inspection checklist, defects, protective-device details, work performed, and the person responsible for the inspection. | Investigate damaged enclosures, abnormal heat, corrosion, loose components, or unclear circuit identification. |
| At commissioning and when required after alterations or faults | Perform applicable verification and electrical tests, such as protective-conductor continuity, polarity, and insulation checks, as appropriate to the system and test procedure. | Use suitable test methods and equipment; follow the applicable standard, equipment instructions, and safe-work procedure. Testing is for qualified personnel. | Test method, instrument identification, conditions, measured results, acceptance basis, and corrective work. | Compare results with design information, applicable requirements, and commissioning or previous test records; investigate unexplained deviations. |
| When performance or inspection findings warrant it | Consider thermal imaging or other targeted diagnostics on accessible equipment and connections under suitable operating conditions. | Use trained personnel and a risk assessment. Thermal imaging does not replace electrical inspection or safe isolation for repair work. | Operating conditions, areas imaged, findings, and any follow-up inspection or repair. | Assess localized abnormal heating against comparable components and equipment guidance; confirm suspected defects using an appropriate method. |
| After repair, replacement, or system expansion | Verify affected circuits and protective measures, update system records, and complete applicable inspection and testing before return to service. | Follow safe isolation and recommissioning procedures. Confirm that work is performed by appropriately qualified personnel. | Work description, updated drawings and schedules, parts replaced, test results, and return-to-service approval. | Do not treat documentation as current until changes and test outcomes have been recorded and reviewed. |
Solar panels do not need automatic washing every month. Dust, pollen, salt spray, and bird droppings affect output differently from site to site. Look for uneven, visible deposits, especially beneath nearby trees or beside busy, dusty roads. A few dirty patches can matter more than a light, even film. Check the monitoring data too, but compare similar weather and seasons before blaming soiling for a production dip. Clouds, shading, and equipment faults can produce similar changes. A fixed cleaning schedule sounds tidy, but it can waste water where rain already removes most residue. It may also miss dry periods when buildup becomes noticeable.
Clean modules when inspection and performance trends support it, not just because a calendar says so. Follow the system’s care instructions, and work from a safe location without walking on the panels. Use clean water and a soft brush or approved tool; abrasive pads and harsh cleaners can damage surfaces. Avoid spraying hot modules with cold water, which may cause thermal stress. If panels are difficult to reach, wiring appears damaged, or deposits resist gentle cleaning, contact a qualified solar technician. A stubborn mark is not worth a fall or a scratched module. Check the result after cleaning, while remembering that weather changes can make before-and-after output comparisons imperfect.
Solar inverters often require replacement sooner than panels. NREL’s 2018 Best Practices for Operation and Maintenance of Photovoltaic and Energy Storage Systems uses a 10–15-year inverter service-life range for lifecycle planning. Treat it as a budgeting window, not a failure deadline. Heat, dust, frequent power cycling, and poor airflow can affect equipment differently. Keep maintenance records from year one: note fault codes, shutdowns, unusual fan noise, and monthly energy output. A single dip proves little. Repeated alarms deserve attention.
NREL’s review of nearly 2,000 photovoltaic degradation estimates found a median module degradation rate of about 0.5% annually. That figure describes panel output, not inverter health, so compare inverter alerts and production data separately. Before the expected replacement window, ask a qualified technician to inspect ventilation, electrical connections, event logs, and temperature history. A warm cabinet on a hot afternoon may be normal; blocked vents are not. I’d avoid replacing equipment based on age alone. Still, waiting for a complete failure can mean an inconvenient outage.
Tips: Keep vents clear and record error codes with dates. Review performance monthly, then investigate persistent changes. Schedule a professional inspection before year ten, especially if the unit runs hot or logs recurring faults. Don’t open energized equipment yourself.
Track daily energy yield alongside sunlight measured at the panel angle. Record module temperature and system availability when possible. Small data gaps matter.
Compare energy output with sunlight levels over similar periods. If output falls while sunlight stays similar, inspect for shade, dirt, or damage. One cloudy day proves little.
No. Review it with energy yield, sensor readings, and downtime records. Shading, dirty panels, and faulty sensors can distort the result.
Clean them when visible deposits and performance trends support it, not just on a fixed schedule. Dusty roads, pollen, salt spray, and bird droppings may leave uneven marks. Rain may do the job.
Follow the system’s care instructions and use clean water with a soft brush or approved tool. Avoid abrasive pads and harsh cleaners. Do not walk on the panels.
It may help when buildup is affecting production, but weather can complicate before-and-after comparisons. Check the data again under similar conditions. Not a perfect test.
A 10–15-year range can help with replacement planning, but it is not a failure deadline. Heat, dust, and poor airflow may affect service life.
Note fault codes, shutdowns, unusual fan noise, and monthly energy output. Repeated alarms deserve attention. A single dip proves little.
Arrange one before year ten, especially if the unit runs hot or logs recurring faults. Ask for checks of vents, connections, event logs, and temperature history. Do not open energized equipment.
How to maintain solar systems over time begins with a clear performance baseline. A median annual photovoltaic degradation rate of about 0.5% offers a useful reference, but each system should be judged against its own commissioning data and operating conditions. Track energy production and other relevant monitoring metrics in line with IEC 61724-1, reviewing trends regularly so that unexpected changes can be investigated before they become larger problems.
Routine checks should also cover electrical safety, system records, and documentation, using IEC 62446-1 as a guide. Look for dirt, dust, or debris when local conditions make soiling likely, and clean modules only when inspection suggests it is worthwhile. Finally, include inverter servicing or replacement in long-term planning: typical service life is often around 10–15 years, though actual timing varies. Consistent records and scheduled reviews help maintain safe, reliable performance over the system’s lifetime.